How to install Python for scientific computing
Marcos Duarte, Renato Naville Watanabe
Laboratory of Biomechanics and Motor Control
Federal University of ABC, Brazil
Python installation
To install Python, the source or binary file with the most-widely used implementation of the language (CPython) is quite small, about 25 MB depending on your operating system (see http://python.org/download/). By the way, you should use Python 3. A problem might be to install all other Python packages we need for scientific computing that don't ship with the standard Python distribution. There are different ways of achieving that and we will see here what I think it's the most simple.
The short version
The easiest way to get Python and the most popular packages for scientific computing is to install the Anaconda distribution (https://store.continuum.io/cshop/anaconda/). Anaconda is both free and cross-platform. Download Anaconda (for Python 3!), run the file, and follow the instructions on the screen.
The long version
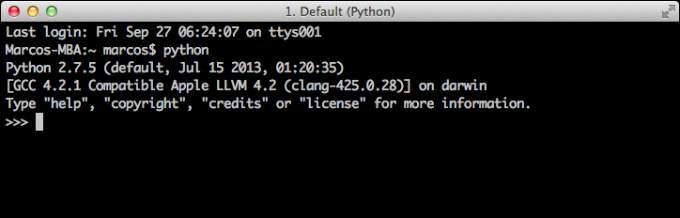
First and foremost, Python already comes installed in your computer if you have a Mac OS (from Apple) or a Linux OS in your computer. Unfortunately, Windows OS (from Microsoft) does not come with Python. If you have a computer with Mac OSX or Linux OS, you can check the Python distribution you have by opening a Terminal window. On Mac OSX, you can either open the Terminal by navigating in the main menu to Applications -> Utilities and then clicking on the Terminal icon, or by hitting the Spotlight shortcut Command + Spacebar and typing 'terminal'). On Linux, you can open the Terminal in a similar way by navigating in the main menu to Applications -> Utilities and then clicking on the Terminal icon, or yet open the Terminal by hitting the keyboard shortcut Ctrl+Alt+T (usually the default shortcut for Terminal). Here is a screenshot of the Terminal window on Mac OSX after I typed 'python' (without the quotation marks) and hit Enter:
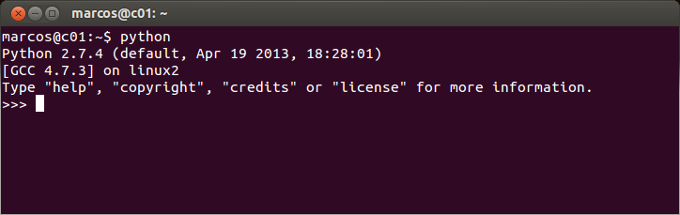
In fact, the Python shown above is not the one that came with Mac OSX. The Python above was installed with the Homebrew software (http://brew.sh/). You would need to do something like that only if you want to install Python and its packages one by one, which I wouldn't recommend. More on this later. Here is a screenshot of the Terminal window on Linux Ubuntu OS after I typed 'python' (without the quotation marks) and hit Enter:
On Windows, the equivalent of the Terminal window is the Command Prompt window. You can either open Command Prompt window by navigating in the main menu to All Programs -> Accessories -> Utilities and then clicking on the Command Prompt icon. Here is a screenshot of the Command Prompt window on Windows 7 OS after I typed 'python' (without the quotation marks) and hit Enter:
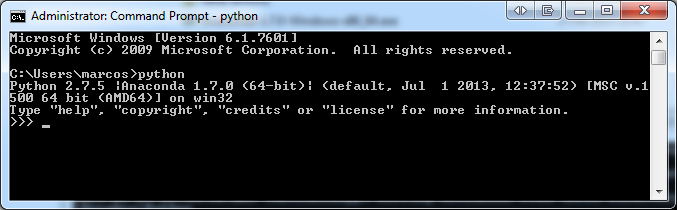
Of course, you would see a screen like above only if you already have Python installed in your Windows OS.
Even if you already have Python installed because it came with Mac OSX or Linux, it is a safe idea to install another version of Python to not mess with the installation of your OS (Python is used by Mac OSX and Linux to run internal programs; in Windows another language, .NET, is used for that). Python itself is simple to install, the problem is to install its packages for scientific programming. Here is a list of the most popular Python packages for scientific programming which will be used in these notes:
- Python of course (the CPython distribution): a free, open source and cross-platform programming language that lets you work more quickly and integrate your systems more effectively.
- Numpy: fundamental package for scientific computing with a N-dimensional array package.
- Scipy: numerical routines for scientific computing.
- Matplotlib: comprehensive 2D Plotting.
- Sympy: symbolic mathematics.
- Pandas: data structures and data analysis tools.
- Statsmodels: to explore data, estimate statistical models, and perform statistical tests.
- Scikit-learn: tools for data mining and data analysis (including machine learning).
- PyQt: Python bindings for the Qt cross-platform graphical user interface toolkit (or the equivalent Pyside).
- IPython: enhanced interactive Python shells with support for data visualization, distributed and parallel computation and a browser-based notebook with support for code, text, mathematical expressions, inline plots and other rich media.
- Spyder: interactive development environment with advanced editing, interactive testing, debugging and introspection features.
These are just the main big packages, behind them there are many other packages that need to be installed in order to use them (but most of these other packages are installed automatically together with the main installations). But the Python ecosystem is huge. For example, the Python Package Index (PyPI), a repository of software for the Python programming language, has 35071 packages there and counting!
Python 2 or Python 3?
Python 2.x is legacy, Python 3.x is the present and future of the language.
Python is transitioning from version 2 to 3 and version 3 breaks backwards compatibility for some functions and because of that part of the comunnity hasn't made this transition yet. The third-party Python libraries for scientific computing have to be rewritten for Python 3; most of them are already compatible, but it seems the community is not ready yet.
For instance, the Anaconda distribution ships with both versions but defaults to Python 2.x (download Anaconda3 for default Python 3) and the number of packages for Python 3.x is still smaller than for Python 2.x [1, 2].
I suggest to use Python 3 and add a few lines of code for compatibility with Python 2.x.
Installing the Python ecosystem
The easy way
The easiest way to get Python and the most popular packages for scientific programming is to install them with a Python distribution such as Anaconda.
In fact, you don't even need to install Python in your computer, you can run Python for scientific programming in the cloud using python.org, pythonanywhere, or repl.it.
The hard way
You can download Python and all individual packages you need and install them one by one. In general, it's not that difficult, but it can become challenging and painful for certain big packages heavily dependent on math, image visualization, and your operating system (i.e., Microsoft Windows).
Anaconda
I think the best way to install the Python ecosystem is with the Anaconda distribution, which is very complete, free, and cross-platform. Let's see how to install and use Anaconda, but it doesn't matter for understanding these notes if you installed them by other way.
Anaconda Installation Instructions
Go to the Anaconda website and download the appropriate version for your computer (but download Anaconda3! for Python 3.x). The file is big (about 500 MB). From their website:
Linux Install
In your terminal window type and follow the instructions:
bash Anaconda3-4.4.0-Linux-x86_64.sh
OS X Install
For the graphical installer, double-click the downloaded .pkg file and follow the instructions
For the command-line installer, in your terminal window type and follow the instructions:
bash Anaconda3-4.4.0-MacOSX-x86_64.sh
Windows
Double-click the .exe file to install Anaconda and follow the instructions on the screen
Miniconda
A variation of Anaconda is Miniconda, which contains only the Conda package manager and Python. Once Miniconda is installed, you can use the conda command to install any other packages and create environments, etc. (http://repo.continuum.io/miniconda/). The Miniconda file is very small and you can install only the packages you are going to use (but you will have to install them manually one by one).
Launching Python
After the Anaconda installation, you can launch fancier shells for Python than the one we saw when we ran Python in a Terminal window. In the main menu of your OS, you should see icons for different shells inside the Anaconda menu. If you click on the Launcher icon, the following screen should appear:
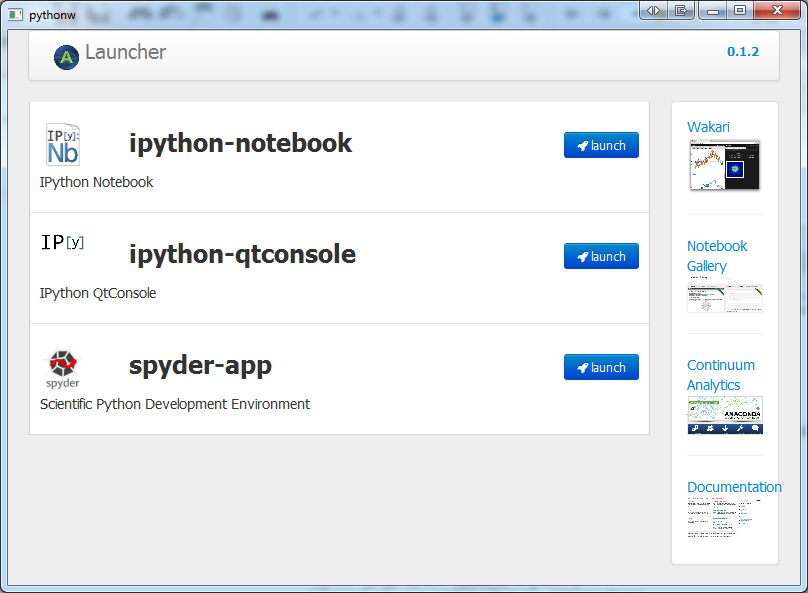
From the Launcher screen you will be able to launch ipython-notebook, ipython-console, or spyder-app. The first two applications are different ways to run the IPython enhanced interactive Python shell, being the ipython-notebook a much nicer shell running on a web browser. Here is a screenshot of IPython Notebook:

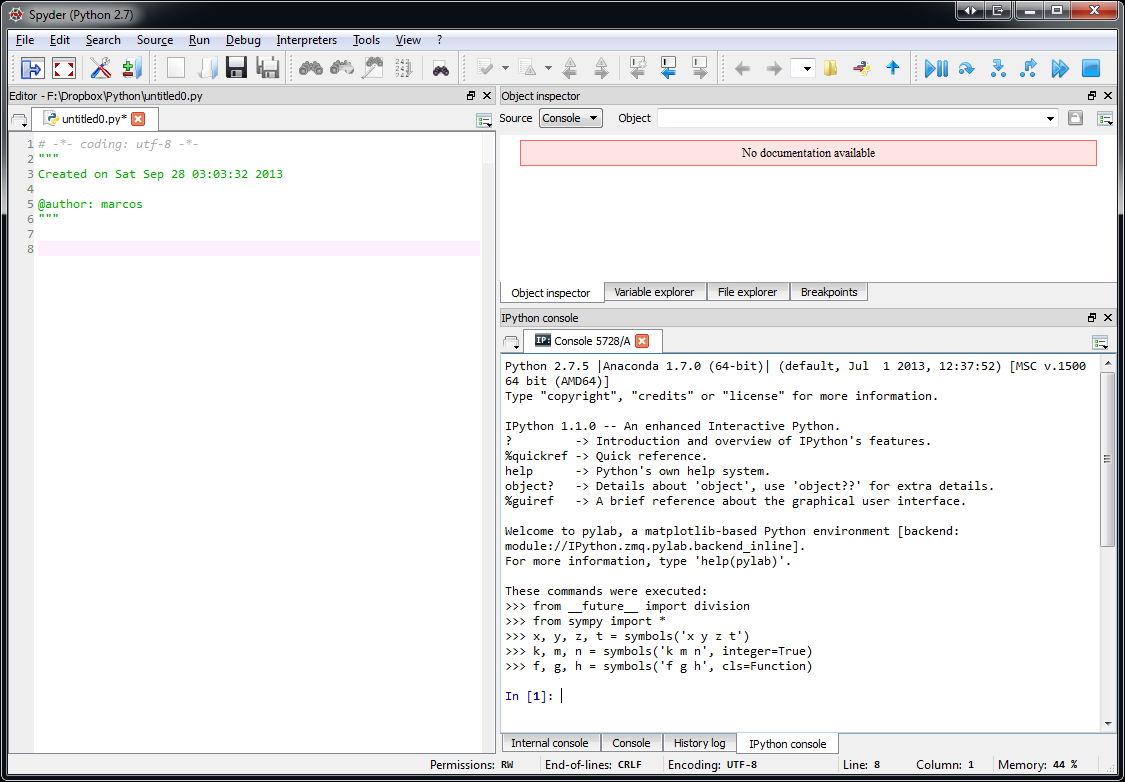
The spyder-app is for launching Spyder, an interactive development environment (IDE) for Python and Spyder also includes an IPython shell. Spyder is very similar to the Matlab IDE if you are familiar with. Here is a screenshot of Spyder:
Another way to use Python for scientific computing is to use Python in the cloud with for example, Wakari.io. In this way, you don't have to install anything in your computer. Wakari has a free base account and you can buy more computer power according to your needs. Here is a screenshot of the Wakari website running an IPython Notebook:
